Table of Contents
ToggleWhen it comes to giving your kitchen a fresh, modern, and personalized touch, few projects are as impactful and budget-friendly as a DIY kitchen backsplash. Not only does it enhance the visual appeal of your space, but it also protects your walls from stains and splashes. Whether you’re a seasoned DIY enthusiast or a beginner, creating your own backsplash is a rewarding project that allows you to showcase your creativity and style.In this comprehensive guide, we’ll explore various DIY kitchen backsplash ideas, provide step-by-step instructions, and offer tips to make your project a success. By the end of this article, you’ll feel confident tackling your very own DIY kitchen backsplash project.
Why Choose a DIY Kitchen Backsplash?
A backsplash plays a dual role in your kitchen—it serves as a decorative focal point and protects the walls from cooking splatters, grease, and water. Here’s why a DIY kitchen backsplash is an excellent choice:
- Cost Savings: Hiring a professional to install a backsplash can be expensive. By going the DIY route, you can significantly reduce costs while still achieving a high-end look.
- Customization: A DIY project lets you tailor the backsplash to your personal taste. From materials to colors and patterns, you’re in control.
- Ease of Installation: With modern peel-and-stick tiles, pre-made mosaic sheets, and a variety of tutorials available, installing a DIY kitchen backsplash is easier than ever.
- Satisfaction: Completing a DIY project brings a sense of accomplishment and pride in creating something with your own hands.
Popular DIY Kitchen Backsplash Ideas
When choosing a design for your DIY kitchen backsplash, the options are nearly endless. Below are some of the most popular ideas to inspire your project:
1. Peel-and-Stick Tiles
Peel-and-stick tiles are perfect for beginners. These self-adhesive tiles mimic the look of real ceramic or glass tiles but are lightweight and easy to install. They come in various designs, including subway tiles, herringbone patterns, and mosaic styles. Simply peel off the backing and stick the tiles to a clean wall. This option is not only quick but also mess-free.
2. Subway Tile Backsplash
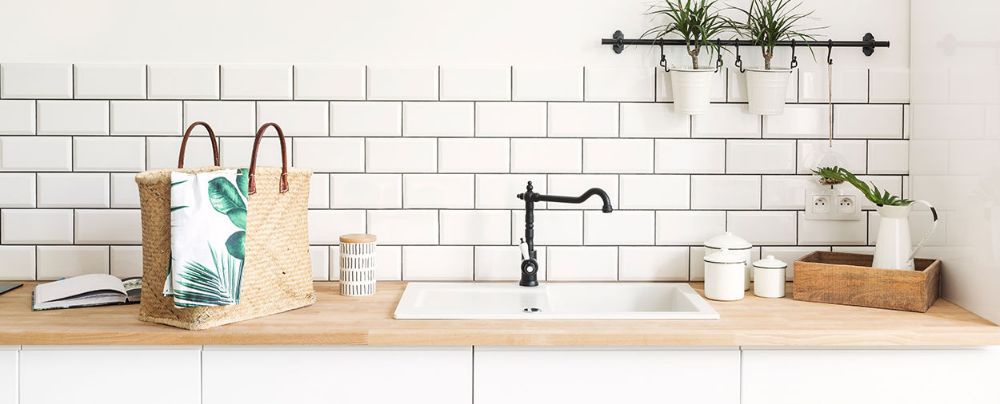
Classic and timeless, subway tiles are a favorite for a reason. You can buy individual tiles and install them with grout, or opt for peel-and-stick versions for a faster process. The clean lines and simple design of subway tiles make them an excellent choice for any kitchen style.
3. Painted Backsplash
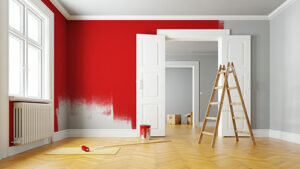
If you’re on a tight budget, consider painting your backsplash area. Use stencils to create patterns, or paint a solid color for a clean, minimalist look. This option is affordable and allows for easy customization.
4. Beadboard Panels
Beadboard is an inexpensive and stylish choice for a DIY kitchen backsplash. These panels add texture and a cottage-style charm to your kitchen. They’re easy to cut and install using adhesive or nails, and you can paint them in any color to match your kitchen decor.
5. Reclaimed Wood
For a rustic and eco-friendly vibe, consider using reclaimed wood as your backsplash material. You can stain or paint the wood to suit your aesthetic. Ensure the wood is sealed properly to make it resistant to water and stains.
6. Mirror Tiles
Mirror tiles can make a small kitchen feel larger by reflecting light and creating the illusion of more space. They add a modern and glamorous touch to any kitchen.
7. Chalkboard Paint
A chalkboard backsplash is not only functional but also fun. It allows you to write grocery lists, recipes, or inspiring quotes directly on the wall. Simply coat the backsplash area with chalkboard paint and let it dry.

Tools and Materials You’ll Need
For most DIY kitchen backsplash projects, you’ll need the following tools and materials:
- Measuring tape
- Level
- Utility knife or tile cutter
- Adhesive or tile mortar (depending on the material)
- Grout and grout float
- Sponge and bucket
- Painter’s tape
- Cleaning cloths
- Caulk gun and silicone caulk
Step-by-Step Guide to Installing a DIY Kitchen Backsplash
Step 1: Measure and Plan
Start by measuring the area where you’ll install the backsplash. Decide on the design, layout, and materials. Sketch a plan to visualize how the finished product will look.
Step 2: Gather Materials
Purchase all the materials you’ll need for your chosen DIY kitchen backsplash. Make sure to buy extra tiles or materials to account for mistakes or future repairs.
Step 3: Prepare the Surface
Clean the wall thoroughly to remove grease, dirt, or residue. For uneven surfaces, use sandpaper to smooth them out. If necessary, apply a primer to help the tiles or paint adhere better.
Step 4: Cut the Tiles or Panels
Measure and cut the tiles or panels to fit your space. Use a tile cutter, utility knife, or saw depending on the material.
Step 5: Install the Backsplash
- For peel-and-stick tiles, align the first tile carefully and press it firmly onto the wall. Continue placing tiles, ensuring they’re level and closely aligned.
- For traditional tiles, apply adhesive to the wall and press the tiles into place. Use spacers to maintain even gaps for grout.
Step 6: Apply Grout (If Necessary)
If your tiles require grout, apply it using a grout float. Spread the grout evenly and remove excess with a sponge. Allow it to dry according to the manufacturer’s instructions.
Step 7: Seal the Edges
Seal the edges of the backsplash with silicone caulk to prevent water from seeping behind the tiles.
Step 8: Clean and Finish
Wipe down the tiles to remove any residue, and step back to admire your handiwork!
Tips for a Successful DIY Kitchen Backsplash
- Take Your Time: Rushing can lead to mistakes. Measure twice and cut once to ensure accuracy.
- Practice First: If you’re new to DIY projects, practice on a small area before tackling the entire backsplash.
- Use a Level: Always use a level to ensure your tiles or panels are straight.
- Watch Tutorials: Online videos can be incredibly helpful, especially if you’re unsure about a specific step.
Maintaining Your DIY Kitchen Backsplash
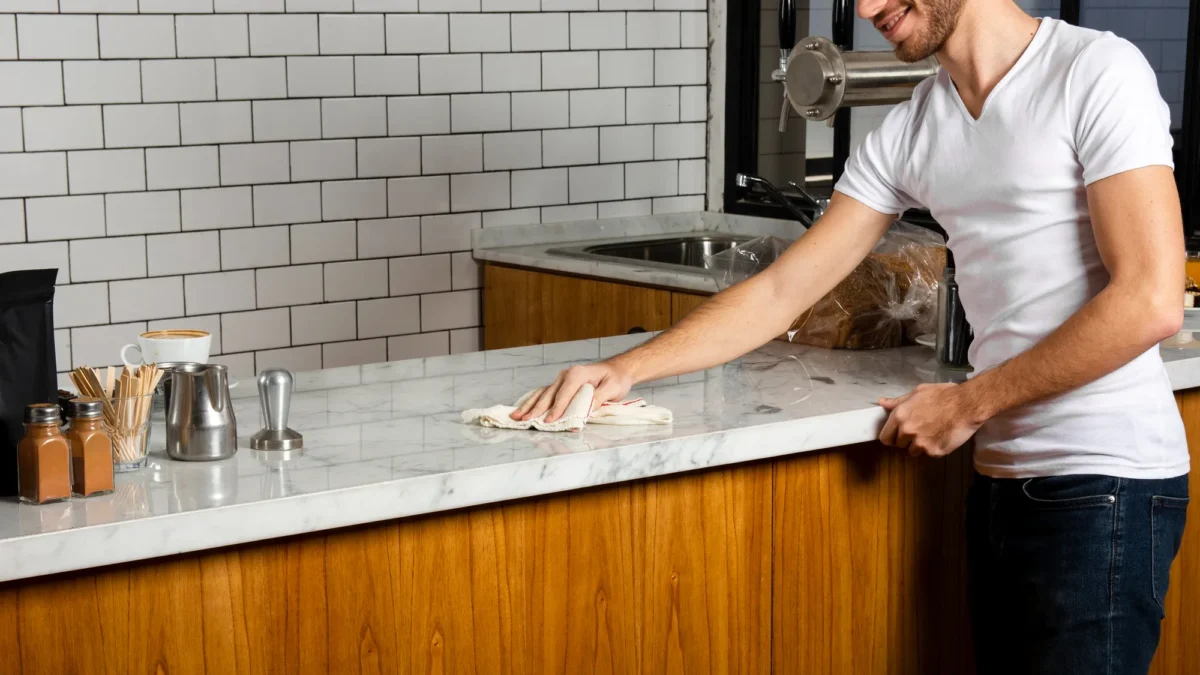
Once your DIY kitchen backsplash is complete, it’s essential to keep it clean and well-maintained. Wipe it down regularly with a damp cloth and mild cleaner to remove grease and stains. For tiles with grout, use a grout cleaner to keep the lines looking fresh. Proper maintenance will ensure your backsplash stays beautiful for years to come.
Conclusion
Creating a DIY kitchen backsplash is a fantastic way to upgrade your kitchen without breaking the bank. With countless materials, designs, and techniques to choose from, you can create a backsplash that perfectly suits your style and needs. Whether you opt for peel-and-stick tiles, reclaimed wood, or a painted design, this project is an opportunity to infuse your kitchen with personality and charm.By following the steps and tips outlined in this guide, you’ll be well on your way to a stunning and functional DIY kitchen backsplash. So roll up your sleeves, gather your tools, and get started on transforming your kitchen into a space you’ll love!

